Resources
{beginAccordion}
Online Banking Guides
{openTab}
{endAccordion}
Customer Support
Commercial Banking Support
(833) 325-7902
Statements
Authorized users can access two to three months of electronic statements, as well as related notices, optional email notifications and the ability to add additional emails recipients by navigating to the Electronic Documents from the REPORTING menu.
{beginAccordion}
ENROLLING FOR ELECTRONIC STATEMENTS
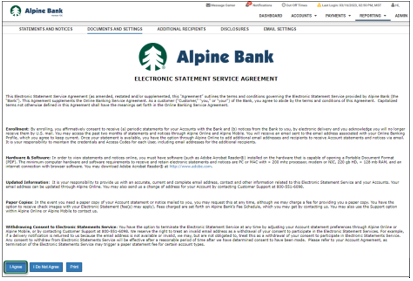
- From the dashboard, select Electronic Documents from the REPORTING menu dropdown. Review the terms and conditions and select I Agree.
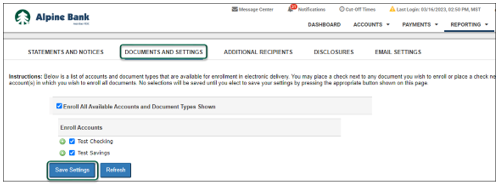
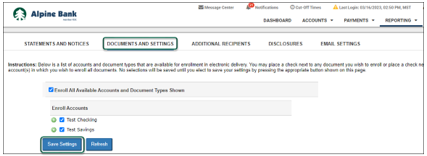
- Navigate to the DOCUMENTS AND SETTINGS tab to select the account(s) that you would like to enroll for electronic statements. You can select Enroll All Available Accounts and Document Types Shown, or you may select specific accounts by placing a checkmark next to each account that you would like to enroll. By clicking the green + icon next to each account, you can select the specific document types to enroll for each account. Click Save Settings.
VIEWING STATEMENTS ONLINE
- To view and/or download 18 months of electronic statements, select Electronic Documents from the REPORTING dropdown.
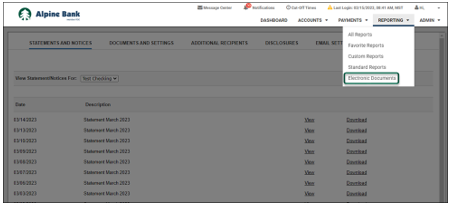
- Within the STATEMENTS AND NOTICES tab, select the account you wish to view from the View Statement/Notices For dropdown.
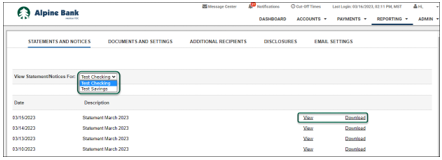
- Click View or Download to access the statement.
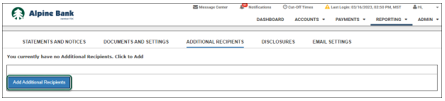
ADDITIONAL RECIPIENTS
Additional recipients can be added to access account statements through an email with a secure statement login.
- Under the ADDITIONAL RECIPIENTS tab, click Add Additional Recipients.
- Input the additional recipient’s Email Address, create a unique Username, and an Access PIN, then click Save. The recipient will use their Username and Access PIN each month to open the electronic statement. This will not give them any additional access to the account(s).
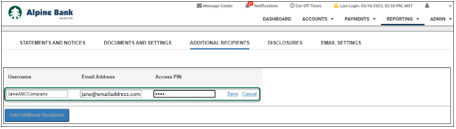
- The new recipient will show under the ADDITIONAL RECIPIENTS tab. Click Assign Documents to select the account statements that they will receive.
- You can select to Enroll All Available Accounts and Document Types Shown for the additional recipient, or you may select specific accounts by placing a checkmark next to each account that you would like to enroll. By clicking on the green + icon next to each account, you can select the specific document types to enroll for each account. Click Save Settings.

- Review and agree to the disclosures by clicking I Agree.
UPDATING ELECTRONIC STATEMENT SETTINGS
- To add or change your enrolled accounts for electronic statements or notices, select Electronic Documents from the REPORTING menu dropdown.
- Within the Documents and Settings tab, you can select Enroll All Available Accounts and Document Types Shown, or you may select specific accounts by placing a checkmark next to each account that you would like to enroll. By clicking on the green + icon next to each account, you can select the specific document types to enroll for each account.