Resources
{beginAccordion}
Online Banking & Mobile App Guides
{openTab}
Frequently Asked Questions
Find helpful answers to questions pertaining to online banking, our mobile app and more here.
Zelle®
Send money directly from our app to friends and family with Zelle®
Learn More
{endAccordion}
Customer Support
Online Banking Support
(800) 551-6098
Statements
There are two ways to view your statements. Documents provides up to seven years of statement history. Statements provides 18 months of statements, as well as related notices, optional email notifications and the ability to add additional email recipients.
{beginAccordion}
Documents
Documents provides up to seven years' statement history.
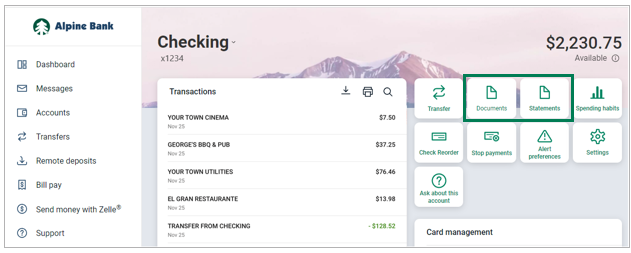
- In the Accounts section of the dashboard, or from the Accounts screen, select an account. Select Documents.
- Click the filter
 icon, then select the year and statement date you wish to view.
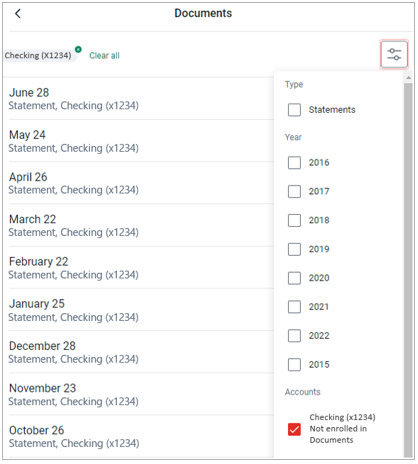
- Click the download icon to access the statement.
Electronic Statements and Notices
Statements provides 18 months of statements, as well as related notices, optional email notifications and the ability to add additional email recipients.
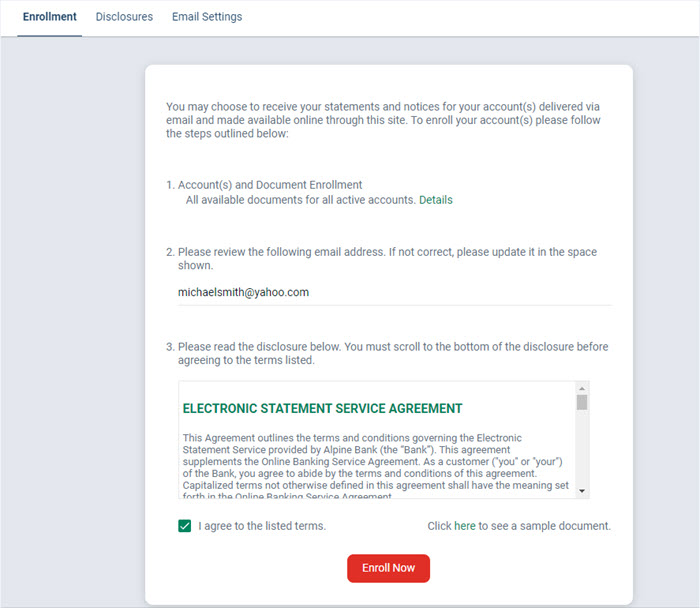
Enrollment
- In the Accounts section of the dashboard, or from the Accounts screen, select an account. Select Statements.
- Review the disclosure, agree to the terms, and click Enroll Now.
- Under Documents and Settings, make a check mark next to each account you would like to enroll for Statements. Click Save Settings.
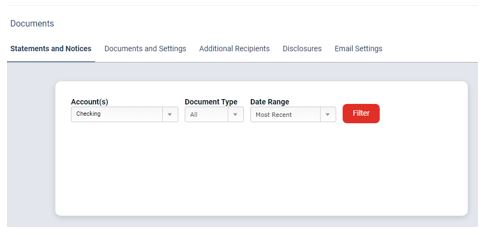
Statements and Notices
Once enrolled in Statements, your most recent statements will be available under the Statements and Notices submenu.
- Under Statements and Notices you can View, or Download the most recent account statements.
- Click on the account name drop-down menu to access other account statements.
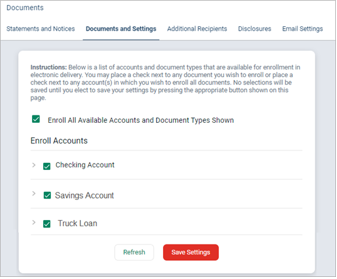
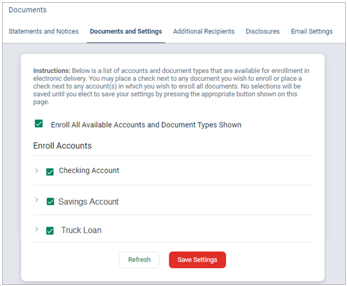
Documents and Settings
To add or adjust your enrolled accounts for Statements available online:
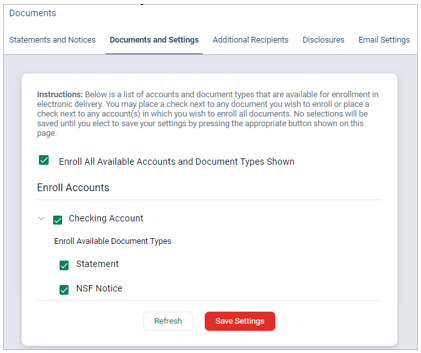
- Under Documents and Settings, place a check mark next to Enroll Accounts, and Document Types that you want to access electronically.
Statement: These statements provide details of account transactions and activity.
Non-Sufficient Funds (NSF) Notice: Contains information related to a transaction that exceeded the account balance and was returned.
Account Analysis Statement: These statements provide details of monthly fees and are provided only through our electronic statement & notification service. The account analysis statement is separate from your business checking account statement. (Business only)
ACH Return Notice: Contains information related to originated ACH entries that were unable to post and have been returned by the Receiving Depository Financial Institution (RDFI). (Business Only)
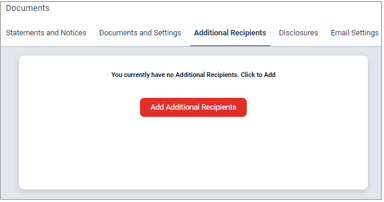
Additional Recipients
You can add additional recipients to receive an email with a secure Statement login.
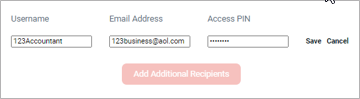
- Under Additional Recipients, click Add Additional Recipients.
- Input a unique Username, Email Address, and Access PIN and click Save. The recipient will use their Username and Access PIN each month to open the Statement. This will not give them any additional access to the account(s).
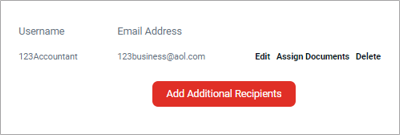
- The Statement recipient will be shown under Additional Recipients. Click Assign Documents to select the accounts statements that the recipient will be able to access.
- Place a check mark next to each account you would like to send to your recipient. Click Save Settings. Agree to the disclosures by clicking I Agree.